By Ramona Farrelly
Ramona Farrelly shares her knowledge about photographing felt for exhibition open calls. 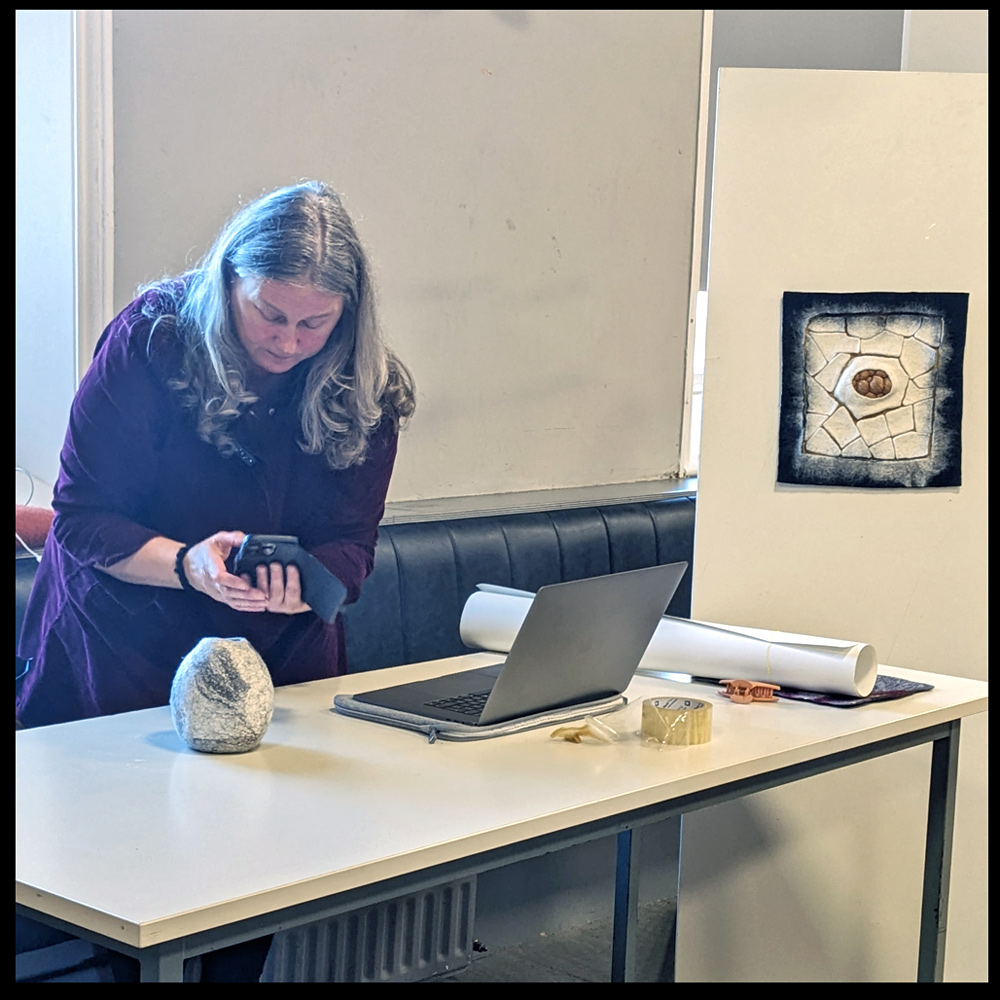
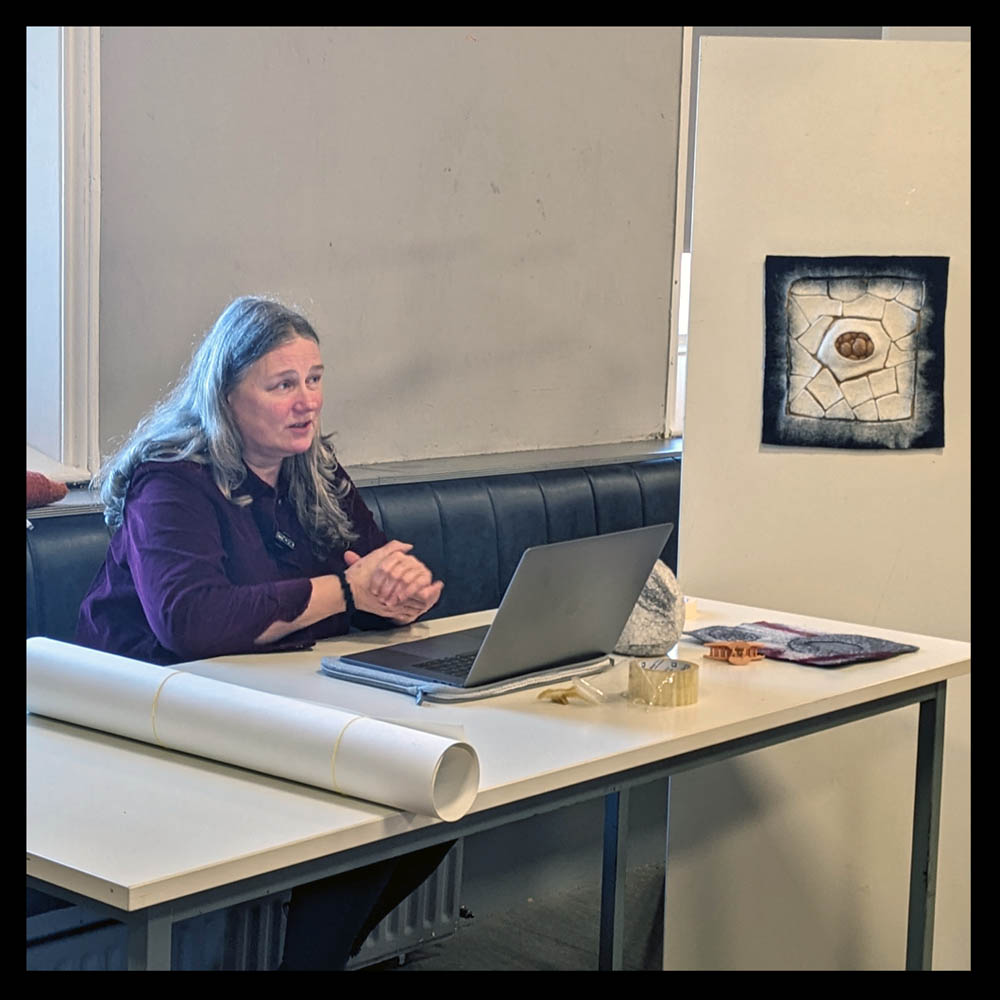
Ramona Farrelly demonstrating how to photograph 3D work.
Three of Feltmakers Ireland’s members shared their expertise for our December Sunday Session. Guild member Ramona Farrelly showed us how to photograph and share our felted textiles using an iPhone so that we can apply to online Open Calls such as our annual group exhibition. Ramona’s instructions can also be applied to Android phone cameras.
Photographing Your Work – Simple Solutions
What you’ll need:
- A well-lit area of soft natural daylight. Natural daylight is best as it gives the most accurate colour representation. However, do not place your work in direct sunlight, as this can cause shadows and glare in the image. It can also cause issues with your phone/camera’s exposure meter.
- A blank wall or large piece of light-coloured paper or material that your work will fit on in the well-lit area. Make sure the background is plain and light-coloured so it doesn’t distract from the work.
- A phone camera is perfect for this job as the images do not need to be too large for online viewing. However, phone images can also print very nicely.
How to Photograph:
● Hang your piece on a clean, plain wall, near bright window light or lie it on a piece of white paper or material on the ground in front of a window or door.
● Open your phone camera and prepare to take the shot.
● Make sure your camera is on original/natural, with no filters set, and make sure that live shooting and flash are turned off.
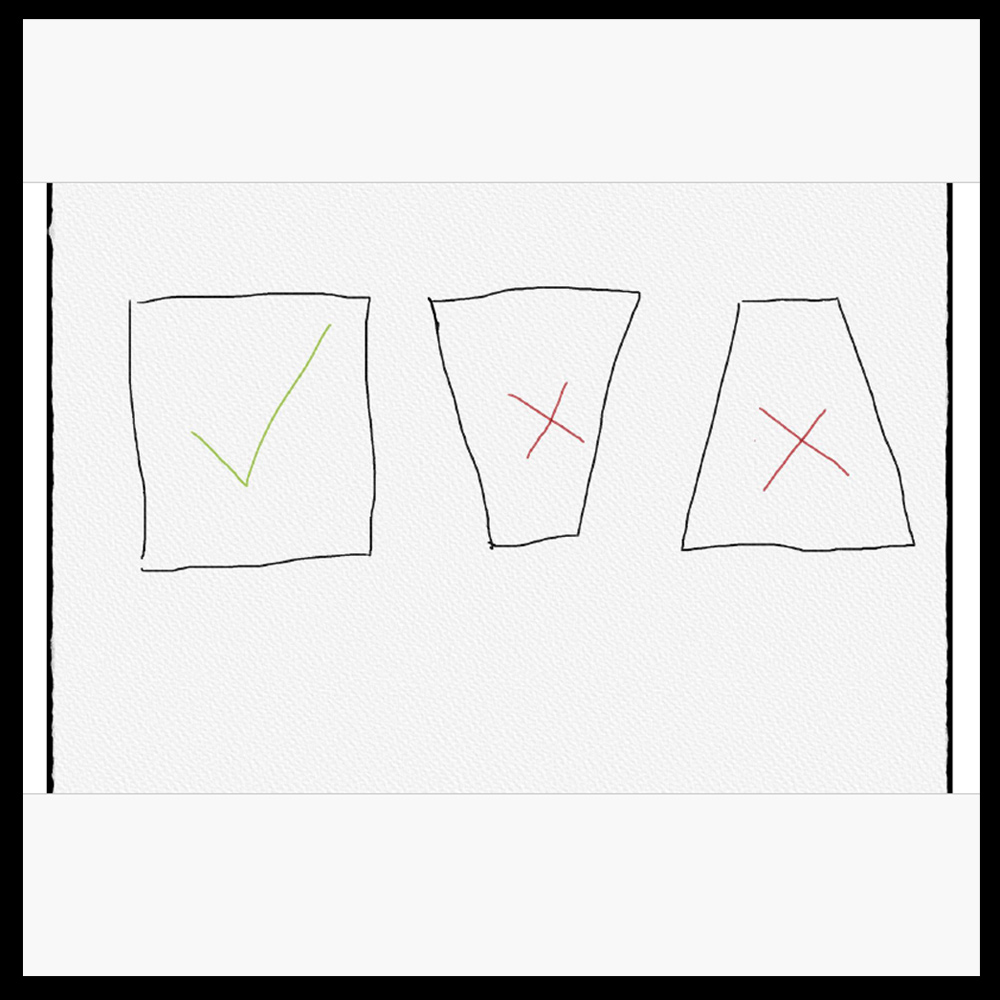
● Make sure you hold your phone/camera square to the artwork. The piece can look distorted if you don’t, as in the last two images below. See below for an example of perspective distortion.
● Stand a little back from your piece, as the closer you are, the more distortion can be visible.
Use the Grid:
Most phones also have a grid function, which can be used to help align the image. Go into your camera Settings to activate this function on your phone.
It will allow you to place the grid over the image area, helping to align the work correctly.
The Grid:

Enough Light:
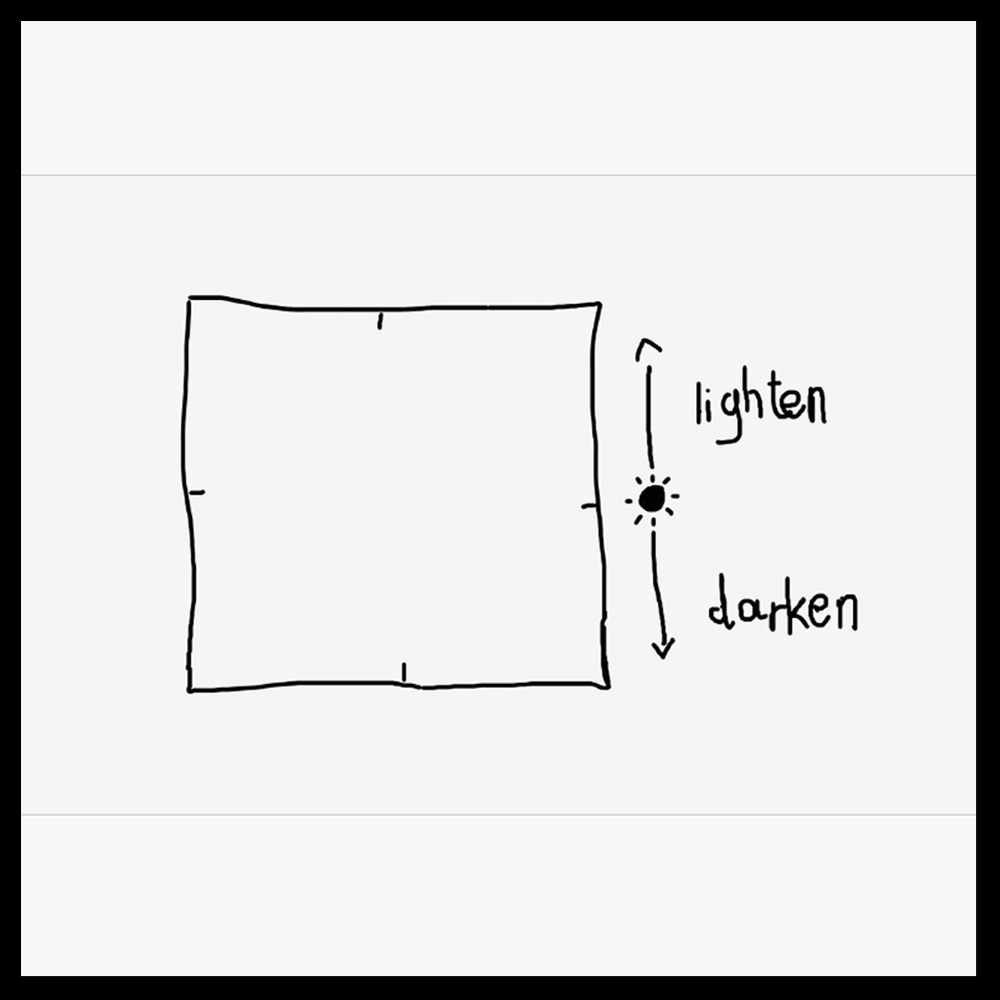
Look at the screen on your phone to see if you need more light. If the image needs lightening or darkening, this can be done on the phone screen by tapping it and dragging the cursor up or down. The image on the screen will be lightened or darkened depending on which way you pull it. The result will be visible on the screen so you can be sure you’re getting the desired exposure.
Most phone models have this ability. If yours doesn’t, this can be done afterwards when editing.
Make sure you have enough light, as your phone camera will adjust and slow the shutter down to compensate for low light, and because of this, the images can turn out blurry due to camera shake.
Other Pointers:
● Generally, do not use flash.
● Fill the frame with as much of your artwork as possible without altering the perspective.
● Generally, taking a close-up of part of your work to show detail is also good. This is done in the same way, but if you’d like to use a different angle for this to show texture, etc, that’s fine.
● Camera phones allow you to take close-up images without having to change anything, but be aware that the closer you are, the more you need to ensure the image is in focus.
● Getting a good shot shouldn’t take too long or too much effort.
Finally, Editing –
Your phone camera has an editing suite built in, which will allow you to do the following –
● You can brighten or darken your image.
● Alter the colour balance if needed. (However, if you started with good lighting, this shouldn’t be a requirement).
● It will also allow you to crop the image if needed, and a whole plethora of other adjustments.
Snapseed Photo Editing App:
Another handy app is Snapseed, which is a great little editing suite with such good value, as it is free with no added costs at all. Here, you can edit as with your phone’s editing tools, plus the app has additional features. One excellent tool if your artwork is slightly distorted is the ‘Perspective Tool’ within Snapseed, which allows you to adjust and correct the shape of your piece within the image. Here is a link to the app for Apple users – https://apps.apple.com/us/app/snapseed/id439438619
There is also an Android version of the app – https://play.google.com/store/apps/details?id=com.niksoftware.snapseed&hl=en_IE&pli=1
Saving and Sharing iPhone Photos:
When you have finished editing, the image will need to be renamed. This can be
done on the phone by saving your image to the Files folder on your iPhone.
Go into your image library, ‘Photos’ on your iPhone.
1) Select the image you wish to move to the folder on your phone.
2) Click on the ‘Share button’ (which is the first icon on the bottom left-hand side at the moment; it could change position with subsequent phone upgrades, but on an iPhone, it currently looks like a blue box/square with an arrow coming out the top). See the Image above.
3) You will see the options for sharing come up next. Some will be app icons, as Messages, Mail, WhatsApp, etc., but there is a long list of options below that. Scroll down to ‘Save to Files’. You will be brought to the ‘Files Folder’. Within this Files Folder, you can create other Folders to locate your artwork files. You can also click on the file name and change it here at this time, before saving or save it and rename it afterwards. It’s also possible to tag the image with a particular colour from this bottom bar as another way of finding the image at a later date.
4) Once the image is saved in the Files Folder, go to the folder and long-click on the image to rename it if you haven’t already done so during saving. A menu will drop down, and ‘Rename’ will be about halfway down that menu. Click on it, and it will allow you to rename the image.
5) Click on this and enter the file name as in the examples as follows: (your name)_(your work title)_001.
Here are two examples of how you can format the name –
RFarrelly_Eclectic_001
RamonaFarrelly_BlueHues_001
You can also enter the date if required.
6) Once that’s done, you can resave it to your photo library or leave it in files for sending.
7) Click on the ‘Share your Image’ and click on ‘Save to Files’. Then go to your Files
folder and hold down on the image you have just saved with your finger. A list of
options will pop up, and about halfway down, you will see the rename option.
Click on this and enter the file name as in the examples that follow:
(your name)_(your work title)_001
- RFarrelly_Eclectic_001
- RamonaFarrelly_BlueHues_001
You can also enter the date if required. Once that’s done, you can resave to your photo
library or leave them in files for sending.
{Editor’s Note: There is an online tutorial on renaming Android files that are stored in Google Photos here – https://support.google.com/files/answer/9746888?hl=en And there is another one for Android users, here – https://techpp.com/2024/08/04/how-to-rename-photos-on-android/}
How to Share Images:
It’s time to send your images to Feltmakers Ireland by email, or if you have many photos, you can use a free version of WeTransfer. It will ask for an email to send a code to, which needs to be inserted before allowing the images to be sent. Here is a link to WeTransfer – https://wetransfer.com/
For emailing, click the ‘Share icon’ again, select ‘Mail’, and a new email message will pop up with your image.
Enter the details you require; put your name and file details in the subject line, making it easy for the recipient to find it among the many emails. {Editor’s note: yes, please do this!}
When you’re ready, press ‘Send‘.
You will be given an option to size your image. The possibilities are Actual Size, Large, Medium, and Small. You can choose the size as required.
Usually, the Actual Size is the best, as it allows for both online and printing at a later
date.
Conclusion:
Photographing felted artwork can be simple and effective with proper lighting, alignment, and minimal editing. Using tools like phone cameras and their software or the Snapseed app, artists can better showcase their work professionally for online exhibition applications.
Thank you, Ramona, for sharing this necessary information with the Guild. These tips offer valuable guidance and will be referred to frequently by members looking to showcase their felted artwork effectively.
Disclaimer for Feltmakers Ireland Blog
Feltmakers Ireland aims to share information about awards, education, events, exhibitions, and opportunities that you will find interesting. Our sharing is neither paid for by nor an endorsement of these individuals or organisations.
Contact Us: If you have any concerns about content, please email us at feltmakersie@gmail.com.
Questions: For questions about content, please follow the link to the organisation involved in hosting the event.
